March marks the first month of Spring and the end to hard freezes. The air and soil get warmer, there are more hours of daylight, and we may even get some pleasant spring showers. For many plant species, this is an excellent month to start growing from seed.
 Before you get started, you may need to do some research to determine when and where your seeds should be planted or if special treatment is required. Spring is a great time to germinate many plants, but some may have different preferences. Some plants may prefer to be started indoors and moved outside when they are larger, or may even require additional steps to replicate the conditions they would experience in the wild. Seeds with a hard-outer coating may need to go through a scarification process that will need to be replicated with sandpaper or a nail file before they are able to germinate. Others may need to be soaked and/or refrigerated before they will come out of dormancy and sprout. The back of the seed packets will commonly tell you what conditions are required for germination.
To grow seeds indoors you will need:
- Potting soil designed for starting seeds
- Containers that are at least 2-3 inches deep and have drainage holes. This can be seed trays bought from the store or made at home.
- If your seed starting tray doesn’t have a clear dome to cover the seeds with, you can use plastic wrap.
- Mister
- Fertilizer
- Sunny Windowsill or a grow light
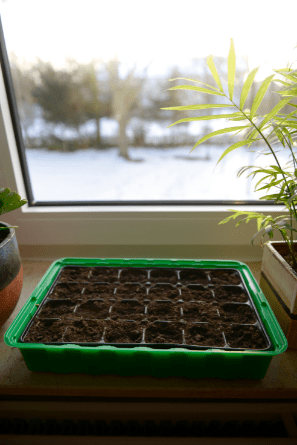
Fill your containers three quarters of the way with your potting soil and then water it with the mister. It should be moist, but not soggy. Check the seed packet to see how the seeds should be planted. Generally, the larger the seed the deeper it will need to be buried. For each container, plant two to four seeds. Not all of the seeds will sprout, and you can always separate them later. After you plant your seeds, give them another misting and then cover them with a dome or plastic wrap and place the tray in a warm location. Check your containers every day to see if they need water and check for signs of life. As soon as you begin to see seedlings, remove the dome/plastic wrap and place the container in a south-facing windowsill or a few inches under a grow light. If you are using a grow light, be sure to only keep it on for about 15 hours a day and to raise it as the seedlings get taller. Since potting soil designed for starting seeds typically doesn’t contain a lot of nutrients, you will need to fertilize the seedlings with a half strength fertilizer weekly. Once the seedlings have two sets of leaves, choose one healthy plant per pot to keep and snip the rest.
Starting your seeds indoors can save you money and let you kick off the growing season early. For more information, see the sources available on the Hobbies & Crafts Reference Center here or check out one of the books below.
Happy Growing!


Add a comment to: Growing Plants from Seed